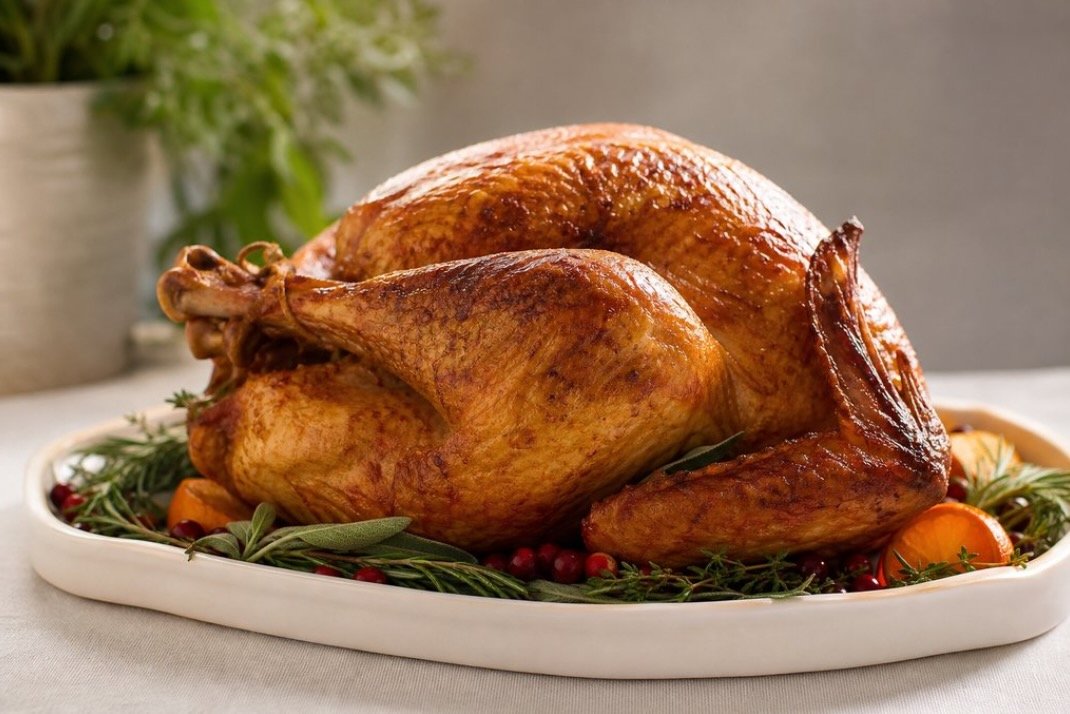
Before reheating a fully cooked turkey, read any instructions that came with it, since times and temperatures vary from product to product. If your turkey will be coming home from the store frozen, resist the urge to leave it on the counter to thaw. Instead, keep the turkey in its original packaging and place on a pan or tray with raised edges to catch any drips.
Give a Frozen Turkey Room to Thaw
Store the turkey on a bottom shelf of the refrigerator, not nestled in with other foods or pressed up against the back wall of the refrigerator. Give the turkey plenty of room so air can circulate around the entire package, allowing it to thaw as evenly as possible. And make sure it’s not sitting above fruits, vegetables, or other foods you plan on eating without cooking.
When in doubt, give yourself an extra day in the fridge to make sure the turkey is thoroughly thawed before cooking. Don’t ever try to thaw a turkey using direct heat or hot water. This will warm the outside of the turkey too much while the inside is still frozen solid.
How Long Does Thawing Take?
A good rule of thumb is about 24 hours in the refrigerator for every 4 to 5 pounds of turkey. That means a 12-pound bird needs close to three days, and a 20-pound bird can take four to five.
If you’re short on time, you can thaw the turkey in cold water instead. Keep it in a leak-proof bag, submerge it in cold tap water, and change the water every 30 minutes. Plan on about 30 minutes per pound, and reheat the turkey as soon as it’s thawed.
Thawed and ready to cook? Keep reading for reheating and carving tips!
Reheat a Cooked Turkey Evenly
Remove the turkey from the package and check for additional directions or items, such as gravy or seasonings, whether you buy it locally or order whole turkey online. Some fully cooked turkeys can be reheated in the cooking bag they came in, while others will need to be transferred to a pan. Always follow the package directions.
Place the turkey breast side up in a roasting pan. Make sure the turkey isn’t pressed up against the sides of the pan so the heat can circulate around the bird. The pan can be larger than the turkey, but make sure it won’t tip over or be difficult to remove from the oven when hot.
Cover the turkey loosely. You don’t want the cover to stick to the skin as it heats up. If the turkey came with drippings or the package directions allow for it, add broth or drippings to the bottom of the pan before reheating. This will help keep the turkey moist as it heats up.
Resist the urge to open the oven door frequently to check on the turkey. This will let out the heat and lengthen the reheating time. Instead, use a food thermometer to make sure the turkey is heated through. Insert the thermometer into the thickest part of the thigh and breast (not touching bone) and make sure it reaches the temperature called for on the package. If the package doesn’t list one, 165°F is the standard target for reheated poultry.
Other good signs that the turkey is heated through:
- The juices in the pan are hot and steaming
- The turkey no longer feels cold to the touch, especially around the joints
- The breast meat isn’t puckered or contracted from overcooking
- The skin isn’t overly dry, brittle, or dark in color
If parts of the turkey seem to be cooking faster than others, continue to cook it covered. It’s better to cook it covered a little longer than to crank up the heat and risk drying out the breast meat before the thigh is heated through.
Rest the Turkey Before Carving
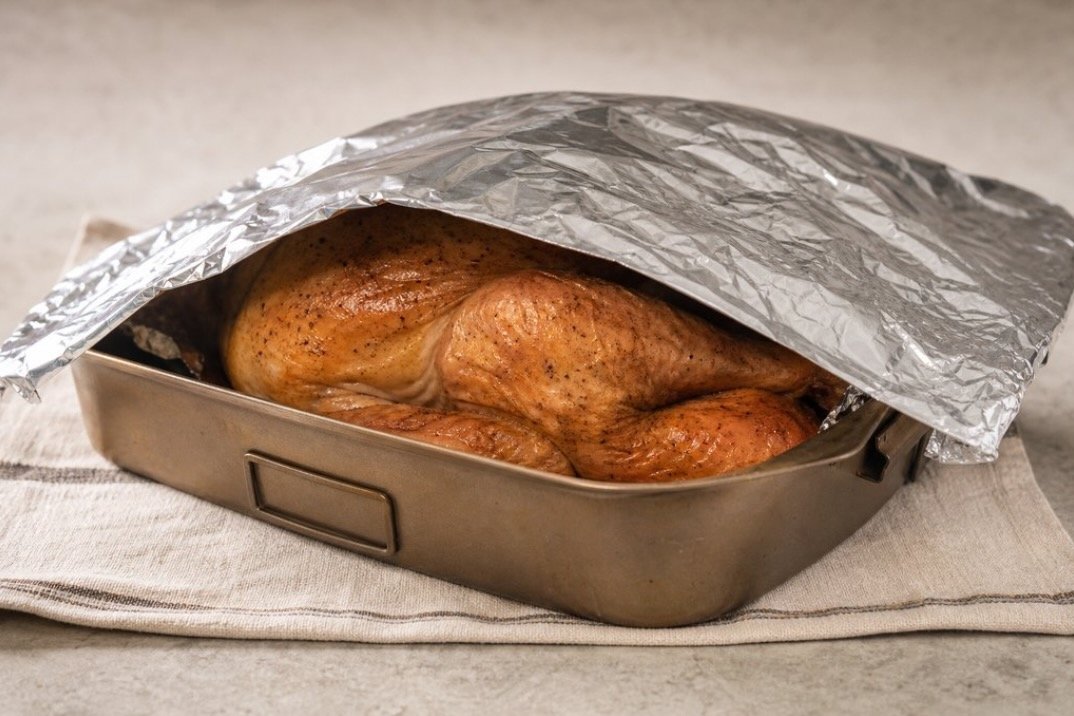
When the turkey is ready, remove it from the oven and let it sit for 30 minutes before carving. This will allow the juices to redistribute throughout the meat so they won’t run out all over your cutting board when you carve. Loosely tent the turkey while it rests, but don’t wrap it up too tightly or condensation will form and make the skin soggy.
Use this time to get everything else you need out: carving utensils, plates, gravy, etc. A carving board with a moat or rim to hold the juices is helpful, even for a fully cooked turkey.
When you’re ready to carve the turkey, start with the legs and thighs. Gently pull the leg away from the body of the turkey and carve at the joint (instead of through the bone). If you’d like to serve the drumsticks and thighs separately, cut them apart now.
Next, cut the breast meat from the turkey. Remove the entire breast at once, then place it flat on the cutting board before slicing against the grain. This will give you better slices of turkey than if you carve the breast meat from an upright turkey.
Finish up by carving the wings and any meat you want off the carcass. Place the turkey on a platter and cover it while you serve the rest of the meal.
A Simple Turkey Timeline
- Three to five days before: move the frozen turkey to the refrigerator to thaw.
- The day before: read the package directions, clear oven space, and set out your roasting pan, thermometer, and carving board.
- Dinner day: start reheating so the turkey is ready about 30 minutes before you plan to eat, which leaves time for it to rest while you finish the sides.
Cool and Store the Leftovers Promptly
After dinner, refrigerate the leftovers within two hours, following the USDA’s leftovers guidelines. Divide up the turkey so it cools more quickly; breast meat, dark meat, and turkey drippings or juices can be stored separately in shallow containers. You can also save the turkey carcass, drippings, and skin to use for making stock after the holiday (perfect for soup and gravy). Label the containers and store in the refrigerator.